TL;DR
# 下面两种写法二选一
git checkout dev -- path/to/config.yaml

git restore --source=dev -- path/to/config.yaml
以上命令都做了一件事情:假设我当前在 main 分支,希望将 path/to/config.yaml 恢复到 dev 分支的状态。
# 下面两种写法二选一
git checkout dev -- path/to/config.yaml
git restore --source=dev -- path/to/config.yaml以上命令都做了一件事情:假设我当前在 main 分支,希望将 path/to/config.yaml 恢复到 dev 分支的状态。
需要一个正常的可工作仓库,而不是裸镜像仓库。以下是在不使用 --mirror 选项的情况下,拉取所有分支和标签并推送到新仓库的步骤:
首先,正常克隆源仓库:
# 克隆源仓库(默认只会检出 main 或 master 分支)
git clone <源仓库URL> repo-copy
cd repo-copy默认情况下,git clone 只会创建和检出默认分支。你需要额外步骤来获取和创建所有远程分支的本地跟踪:
# 获取所有远程分支的信息
git fetch --all

# 为每个远程分支创建本地跟踪分支
git branch -r | grep -v '\->' | while read remote; do
    git branch --track "${remote#origin/}" "$remote"
done

# 拉取所有分支的最新更改
git fetch --all
git pull --all确保所有标签也被获取:
# 拉取所有标签
git fetch --tags# 添加目标远程仓库
git remote add target <目标仓库URL>
# 推送所有分支到目标仓库
git push target --all
# 推送所有标签到目标仓库
git push target --tags下面是一个完整的脚本,可以一键完成整个过程:
# 克隆源仓库
git clone <源仓库URL> repo-copy
cd repo-copy

# 获取所有远程分支信息
git fetch --all

# 为远程分支创建本地跟踪分支
git branch -r | grep -v '\->' | while read remote; do
    git branch --track "${remote#origin/}" "$remote"
done

# 拉取所有分支和标签的最新更改
git fetch --all
git pull --all
git fetch --tags

# 添加目标远程仓库
git remote add target <目标仓库URL>

# 推送所有内容到目标仓库
git push target --all
git push target --tags

echo "所有分支和标签已成功推送到目标仓库"在较新版本的 Git 中,你可以使用以下简化命令:
# 克隆仓库
git clone <源仓库URL> repo-copy
cd repo-copy

# 获取所有分支并设置本地跟踪
git fetch origin
git checkout -b local_branch origin/remote_branch  # 对需要的每个远程分支重复此命令

# 获取所有标签
git fetch --tags

# 添加新远程仓库并推送
git remote add target <目标仓库URL>
git push target --all
git push target --tags最近在 阮老师博客 看到一款这个 GCOP,一个基于 LLM 的 Git 提交消息生成和 Git 工作流程优化工具,试用了一下确实不错。接入 LLM 即可自动分析 git 修改生成 commit 消息,比我之前做的 git-commit 生成器好用多了。
以下是一些简单介绍:
GCOP (Git Copilot) 是一个 Git 智能助手,它使用 AI 来自动生成 Git 提交消息,帮助开发者优化 Git 工作流程。
git c 用于 AI 辅助提交,优化 Git 工作流程🎨 高度可定制化体验
⚡ 流畅的开发者体验
📚 智能学习能力
项目完全开源,使用 MIT 协议,基于 Python 开发。
Github: https://github.com/Undertone0809/gcop
官网: https://gcop.zeeland.top/
安装配置参考官网 Quick Start Guide 即可,mac 下可以结合 conda 安装,之后大概按照这样配置:
model:
  model_name: openai/gpt-4o-mini
  api_key: sk-xxxx
  api_base: https://api.xxx.io/v1
即可使用。
效果
(base) songtianlun@songtianlundeMacBook-Air sample_rails_app % git ac
[Code diff]
diff --git a/.gitignore b/.gitignore
index afd85fd..daa7023 100644
--- a/.gitignore
+++ b/.gitignore
@@ -37,3 +37,5 @@
 !/app/assets/builds/.keep

 /node_modules
+
+.idea
[On Ready] Generating commit message...
[Thought] The changes involve the removal of several .idea configuration files and the
addition of .idea to the .gitignore file. This indicates a cleanup of IDE-specific files
that are not necessary for version control, which can help reduce clutter in the repository.
[Generated commit message]
chore: remove IDE configuration files

- Deleted .idea/misc.xml, .idea/modules.xml, and .idea/sample_rails_app.iml files
- Added .idea to .gitignore to prevent future IDE files from being tracked

This commit cleans up the repository by removing IDE-specific configuration files that are
not needed for the project. It also ensures that any future IDE files will be ignored,
keeping the repository clean and focused on the actual project code.
? Do you want to commit the changes with this message? yes
[main d86005c] chore: remove IDE configuration files
 6 files changed, 2 insertions(+), 373 deletions(-)
 delete mode 100644 .idea/.gitignore
 delete mode 100644 .idea/misc.xml
 delete mode 100644 .idea/modules.xml
 delete mode 100644 .idea/sample_rails_app.iml
 delete mode 100644 .idea/vcs.xml
(base) songtianlun@songtianlundeMacBook-Air sample_rails_app % git push
常用命令
$ git ghelp
/opt/homebrew/Caskroom/miniconda/base/lib/python3.12/site-packages/pydantic/_internal/_config.py:345: UserWarning: Valid config keys have changed in V2:
* 'fields' has been removed
  warnings.warn(message, UserWarning)

gcop is your local git command copilot
Version: 1.7.3
GitHub: https://github.com/Undertone0809/gcop

Usage: gcop [OPTIONS] COMMAND

Commands:
  git p          Push the changes to the remote repository
  git pf         Push the changes to the remote repository with force
  git undo       Undo the last commit but keep the file changes
  git ghelp      Add command into git config
  git gconfig    Open the config file in the default editor
  git gcommit    Generate a git commit message based on the staged changes and commit the
changes
  git c          The same as `git gcommit` command
  git ac         The same as `git add . && git gcommit` command
  git acp        The same as `git add . && git gcommit && git push` command
  git cp         The same as `git gcommit && git push` command
  git amend      Amend the last commit, allowing you to modify the commit message or add
changes to the previous commit
  git info       Display basic information about the current git repository
改好代码之后 git ac && git push 两行命令搞定标准格式提交,很方便。
这是一个自动将 GitHub 仓库镜像到 Gitea 的 Shell 脚本。支持批量同步所有仓库,可以设置跳过特定仓库,并具有良好的错误处理机制。
由于 GitHub 仓库较多,因为各种原因担心数据风险和访问困难。代码托管在自建 gitea 虽然访问快,但是脱离了生态很难跟其他的 PaaS 平台对接。
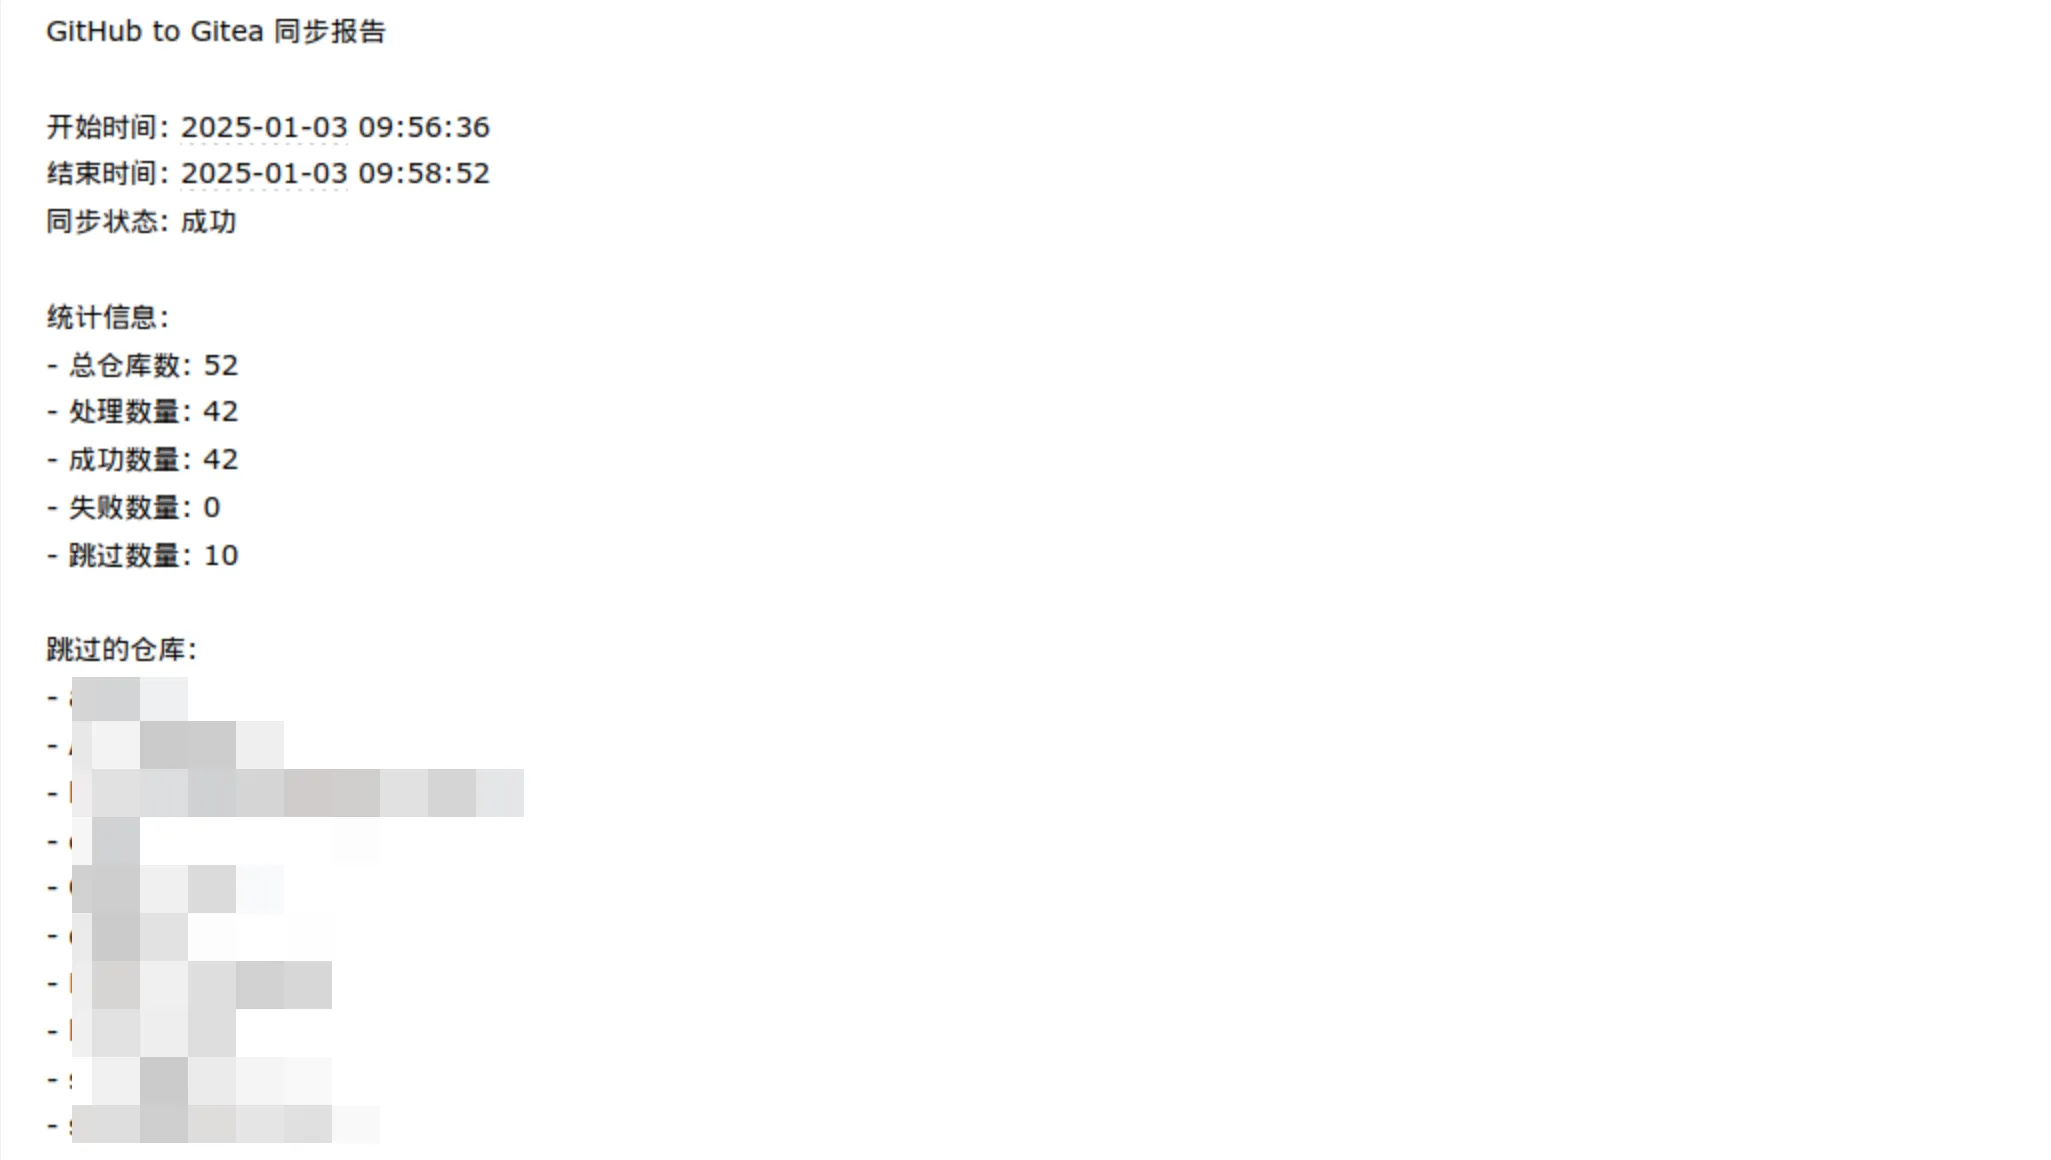
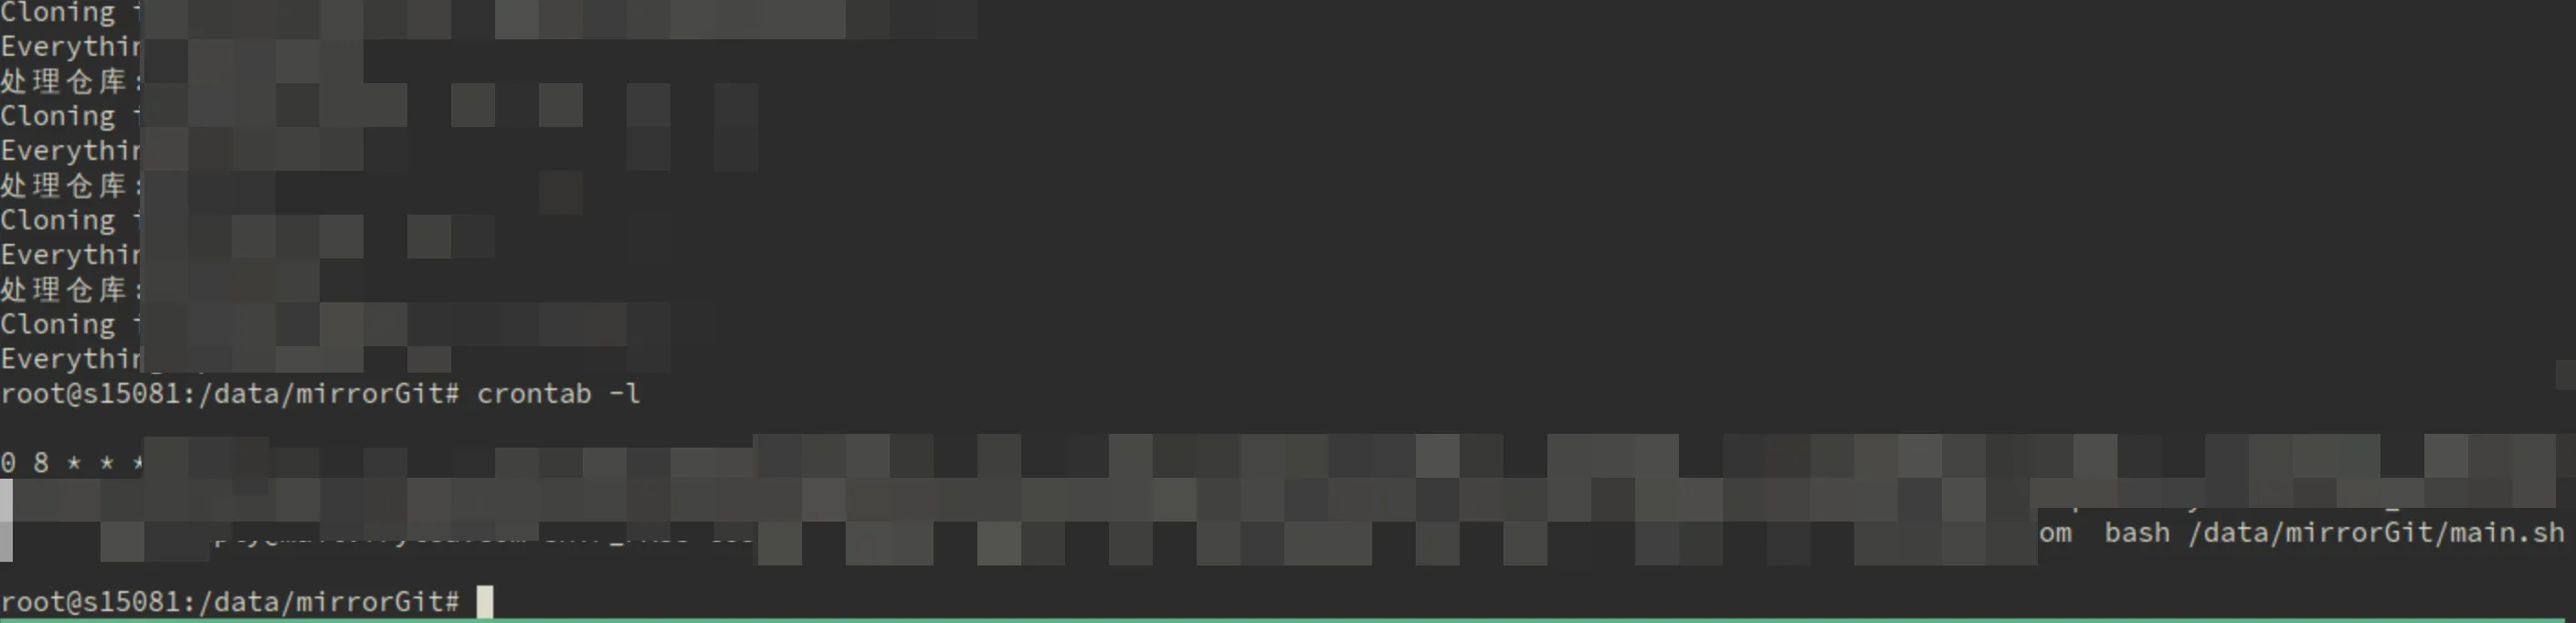
于是就编写了一套脚本,这套脚本从 Github api 获取 repo 清单,逐个 mirror 后推送到 gitea,最后收集同步报告发送邮件通知。结合 crontab 可实现自动化的 git repo 同步备份。
花了一点时间来写,干脆分享出来,可以i根据自己的需求定制。
邮件效果:
运行效果:
在日常使用 Git 版本控制工具的时候,我们有时会遇到需要修改上次commit提交信息的情况,例如:修改上次提交信息中的错误内容,或者想为上次提交加入些新内容等等。
我们可以使用git commit命令的amend选项来覆写上次提交。
$ git commit --amend代码清单:使用
--amend选项覆写上次提交
执行此命令后,git会自动弹出编辑界面,让你可以修改上次的提交信息。
$ git commit --amend -m "an updated commit message"代码清单:使用
-m选项快速修改
而使用--no-edit选项,表示不更动上次已经提交的信息。适用于添加新内容到上次提交的情况。
$ git commit --amend --no-edit代码清单:使用
--no-edit选项追加内容
而使用--author选项,则可以仅修改提交者信息。
$ git commit --amend --author='someone <someone@example.com>'代码清单:使用
--author选项修改提交者
--amend

    Replace the tip of the current branch by creating a new
    commit. The recorded tree is prepared as usual (including
    the effect of the -i and -o options and explicit pathspec),
    and the message from the original commit is used as the
    starting point, instead of an empty message, when no other
    message is specified from the command line via options such
    as -m, -F, -c, etc. The new commit has the same parents and
    author as the current one (the --reset-author option can
    countermand this).

    It is a rough equivalent for:

                $ git reset --soft HEAD^
                $ ... do something else to come up with the right tree ...
                $ git commit -c ORIG_HEAD

    but can be used to amend a merge commit.

    You should understand the implications of rewriting history
    if you amend a commit that has already been published. (See
    the "RECOVERING FROM UPSTREAM REBASE" section in git-
    rebase(1).)
注:关于
--amend的说明文档
需要注意的是:amend选项不会直接修改上次的提交,而是会新创建出一枚提交,包含了上次提交的全部内容与新添加的内容,原先的提交会被“删除”。可以观察到,修改前后的commit的hash值是不同的。
所以,对于已经推送到远程仓库的提交,需谨慎使用amend。
$ git push
<remote> <branch> --force
代码清单:
git强制覆盖远程分支
对于已经推送到远程仓库的提交,可以使用强制推送来覆盖(谨慎使用)。
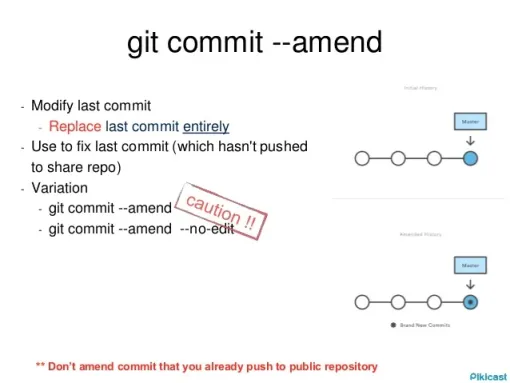
图:
git commit --amend注意事项图「取自Pikicast」
#Git
⚠️ 以下命令将修改您代码仓库的远程地址,请确保明确了解命令的含义在做操作。 如果不确定请提前做好数据备份!!!
find ./ -type f -name "config" -exec perl -i -pe 's/192\.168\.66\.43/10.168.68.43/g' {} \;以上命令递归的将当前 (./) 目录下所有 git 配置文件 (.git/config) 中 192.168.66.43 替换为 10.168.68.43
⚠️ 无论是
rebase还是merge都是一项危险操作,请确保充分理解的命令的含义,并确保每一行代码无误后再继续。 如果不确定,请一定记得做好数据备份!!!
为了合并 dev 分支到 master 分支,同时确保代码不丢失且提交记录规整,你可以使用交互式的 git rebase 命令。这允许你重新排列、修改、合并或分割提交。以下是操作步骤:
git checkout devgit rebase -i master这会打开一个编辑器,列出所有 dev 分支中相对于 master 的提交。编辑器中的每一行都代表一个提交,格式为:`
`。 3. 调整提交记录: 要调整提交顺序,可以简单地在编辑器中移动这些行。 要合并多个提交,可以将相应行的操作从 `pick` 更改为 `squash` 或 `fixup`。`squash` 会将提交合并到前一个提交中,并允许你编辑提交消息。`fixup` 会将提交合并到前一个提交中,但会丢弃当前提交的消息。 要修改某个提交,将操作从 `pick` 更改为 `edit`。 完成调整后,保存并关闭编辑器。Git 会执行你指定的操作。 4. 如果你修改了某个提交,Git 会暂停 rebase 过程,允许你编辑该提交。在这种情况下,进行必要的更改,然后执行以下命令以继续 rebase: “` git add git commit –amend git rebase –continue “` 5. 当 rebase 完成后,切换回 master 分支: “` git checkout master “` 6. 将 dev 分支合并到 master 分支: “` git merge dev “` 7. 将更改推送到远程仓库: “` git push “` 通过这个过程,你可以确保在合并时提交记录更加规整,而且不会丢失任何代码更改。请注意,这种方法会改变提交历史,所以在进行此操作时务必小心,确保其他团队成员了解你的操作。Git LFS(Large File Storage)是一个 Git 扩展,用于更有效地处理大型文件。
在基于 git 托管大模型的平台拉取 AI 模型时常常需要开启这一功能。
要在不同的操作系统上安装 Git LFS,请按照以下步骤操作:
## 第一步、安装 Git LFS
### 对于 macOS
如果你已经安装了 Homebrew,你可以使用以下命令安装 Git LFS:brew install git-lfs
如果你还没有安装 Homebrew,可以访问 Homebrew 官方网站 获取安装指南。

### 对于 Windows

访问 Git LFS 的 GitHub 仓库的 Releases 页面。
下载适用于 Windows 的最新版本的安装程序(.exe 文件)。
双击下载的 .exe 文件并按照提示进行安装。

## 对于 macOS

如果你已经安装了 Homebrew,你可以使用以下命令安装 Git LFS:
brew install git-lfs
如果你还没有安装 Homebrew,可以访问 Homebrew 官方网站 获取安装指南。

### 对于 Debian-based 系统(如 Ubuntu)

在终端中运行以下命令:
sudo apt-get update sudo apt-get install git-lfs
### 对于 Fedora-based 系统

在终端中运行以下命令:
sudo dnf install git-lfs
### 对于 Arch-based 系统

在终端中运行以下命令:
sudo pacman -S git-lfs
## 第二步、集成

安装完成后,需要运行以下命令以将 Git LFS 集成到 Git 中:
git lfs install
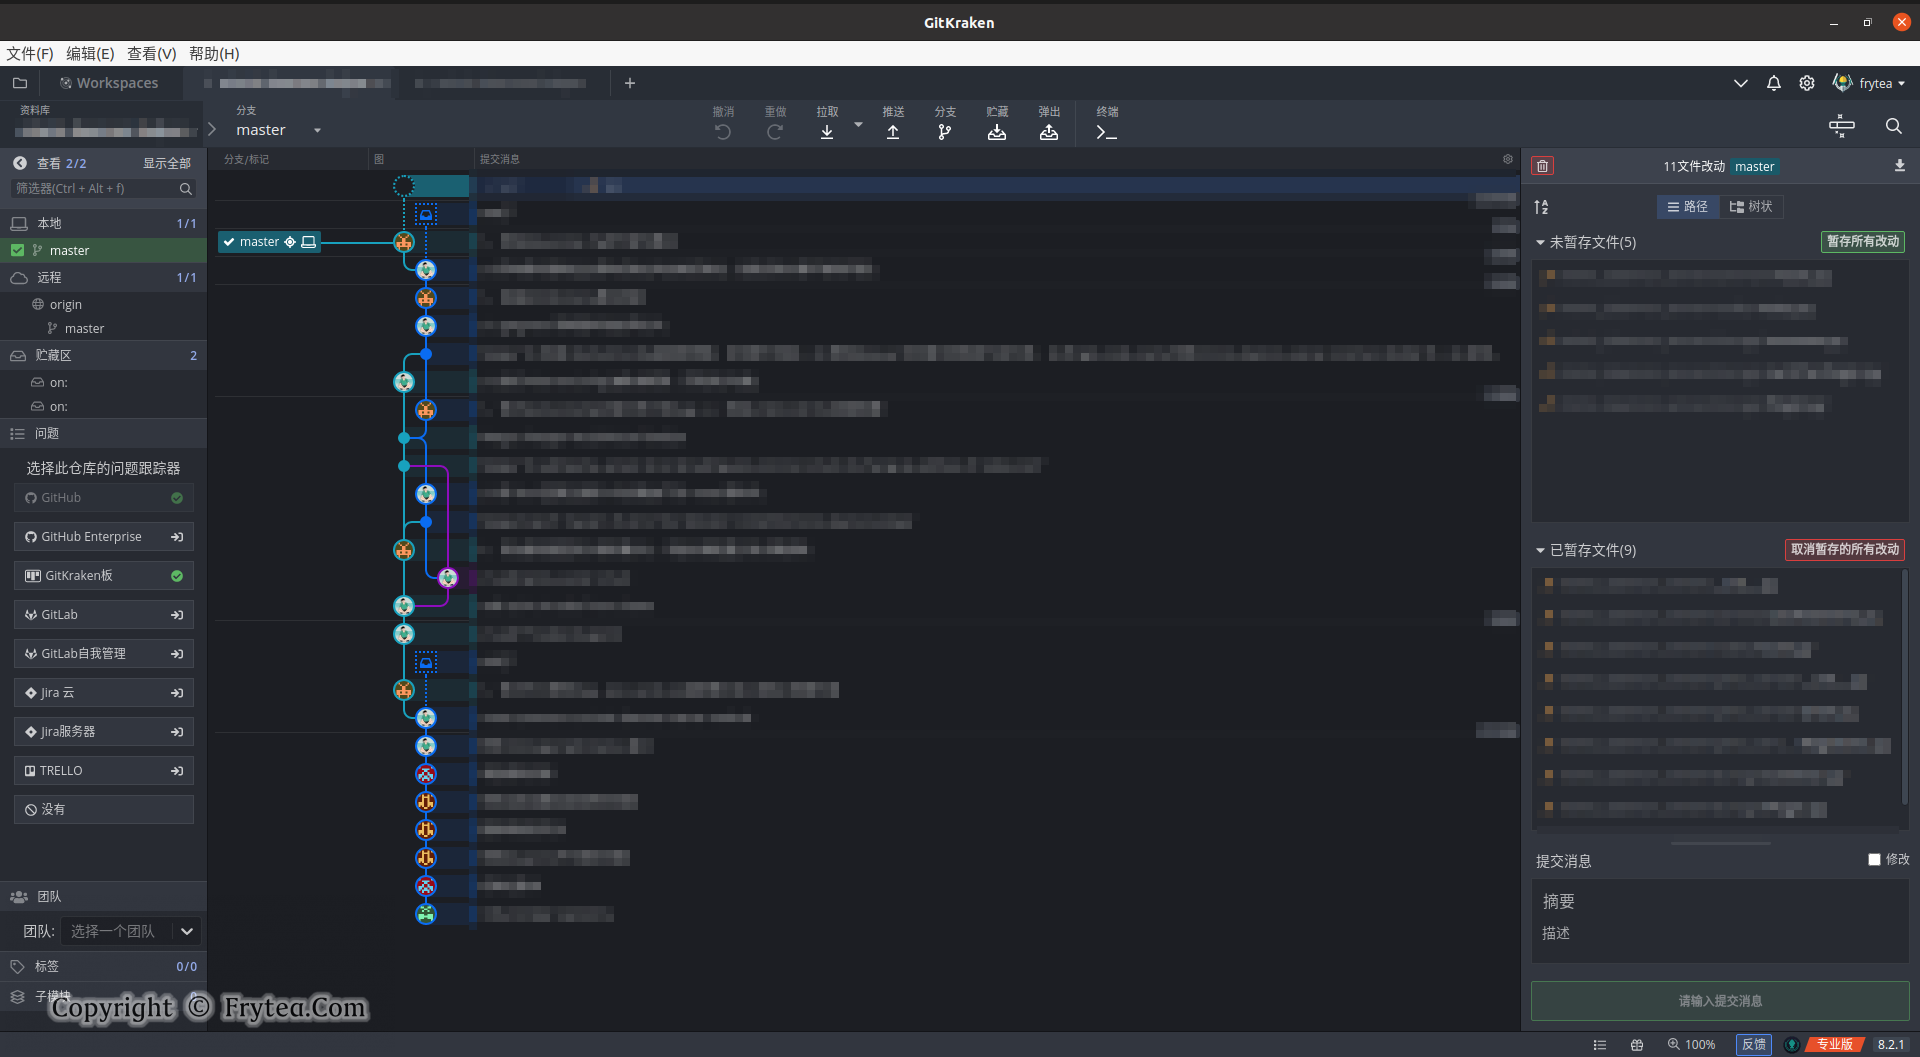
现在,Git LFS 已经成功安装,并且可以在你的 Git 项目中使用。GitKraken 是一款超好用的 git 可视化(gui)工具,但是官方不提供多语言支持,今天就以 Ubuntu 平台为例介绍一下安装方法。
首先在 GitKraken 官网下载安装包:
如果是 debian 系操系统可下载其中的 deb 版本,之后安装即可。
至于汉化,使用 Github 上的 k-skye/gitkraken-chinese 这个仓库即可完成。
方法很简单,安装好之后,使用汉化语言包替换原有的语言包即可。
# 首先备份官方语言包
mv /usr/share/gitkraken/resources/app.asar.unpacked/strings.json /usr/share/gitkraken/resources/app.asar.unpacked/strings.json.bk
# 从github拉取资源并替换
wget https://github.com/k-skye/gitkraken-chinese/raw/master/strings_8.1.1.json -O /usr/share/gitkraken/resources/app.asar.unpacked/strings.json

# 如果在国内访问 github 有困难
# 可使用 fastgit 提供的 github 国内镜像拉取
wget https://hub.fastgit.org/k-skye/gitkraken-chinese/raw/master/strings_8.1.1.json -O /usr/share/gitkraken/resources/app.asar.unpacked/strings.json
之后重启 GitKraken 即可。
内网提交需要校验企业邮箱,但有时邮箱设置错误导致 commit 的邮箱有问题,此时可以通过修改已提交记录中的邮箱来修复,无需重新提交。
经过检索,发现两种方法,分别适用于修改一次和修改多次,引文在最后都有注明。
git commit --amend --author="NewAuthor <NewEmail@address.com>"使用该脚本,替换其中 [Your Old Email] [Your New Author Name] [Your New Email] 之后在 git 目录中执行即可。
#!/bin/sh

git filter-branch --env-filter '

an="$GIT_AUTHOR_NAME"
am="$GIT_AUTHOR_EMAIL"
cn="$GIT_COMMITTER_NAME"
cm="$GIT_COMMITTER_EMAIL"

if [ "$GIT_COMMITTER_EMAIL" = "[Your Old Email]" ]
then
    cn="[Your New Author Name]"
    cm="[Your New Email]"
fi
if [ "$GIT_AUTHOR_EMAIL" = "[Your Old Email]" ]
then
    an="[Your New Author Name]"
    am="[Your New Email]"
fi

export GIT_AUTHOR_NAME="$an"
export GIT_AUTHOR_EMAIL="$am"
export GIT_COMMITTER_NAME="$cn"
export GIT_COMMITTER_EMAIL="$cm"A previous backup already exists in refs/original/Cannot create a new backup.
A previous backup already exists in refs/original/
Force overwriting the backup with -f出现这一句说明之前曾经执行过 git filter-branch ,在 refs/original/ 有一个备份,这个时候只要删掉那个备份即可,删除备份命令为:
$ git update-ref -d refs/original/refs/heads/master
# 或
$ git filter-branch -f --tree-filter -f 'rm -f test' -- --all